

We grill a lot in southern California, so this year I treated myself and I got that new Weber grill a few weeks back, and at the time I ordered it I also got some fun accessories like this kick-ass Grill Daddy brush I can't live without, and then a rotisserie attachment. So last night I hooked up the rotisserie attachment.
Took about 1 hour to cook this chicken. Tender inside, very juicy, crispy skin. Perfect! And I did nothing but take the chicken out of the package, sprinkle it with seasoning, and throw it on the fire.
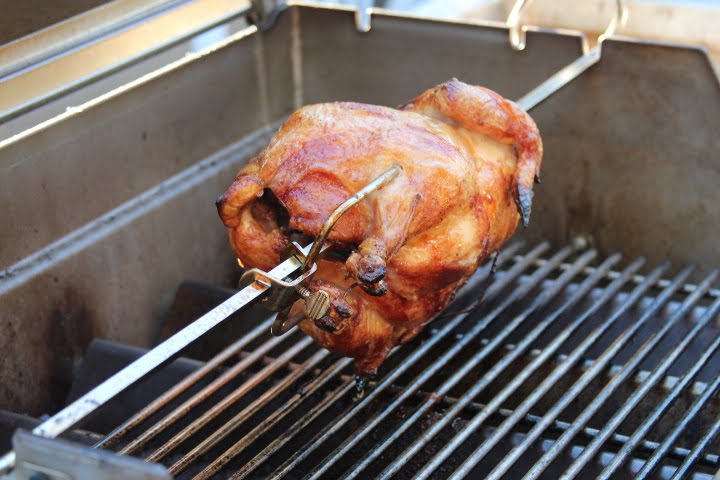 It didn't get off to a good start though. First, the rotisserie bar sits so low that the meat hits the grates and can't rotate. So I removed the grates and ended up just sitting them directly on top of the bars that cover the burners - which you can see in the picture. Now it had room and could turn. Next problem was, they tell you to put a pan under the meat to catch the drippings. I did that, and the grease that went into it of course smoked like a bonfire and almost caught fire (because of course it was sitting right on the burner). I should have known better, it's only common sense that a pan full of grease sitting on a hot burner is going to eventually ignite. But I was in a hurry to get dinner made and just followed the rotisserie's instructions. With smoke POURING out of the closed-lid grill, heat off and rotisserie motor now unplugged, I waited with crossed fingers that it would cool before it ignited. I've had a few grease fires in the past, so I definitely knew one was possible now. Once cooled, I opened the lid, and yep - that grease pan was black as tar. I almost just pull the darn thing off and said screw it, but then I thought, why not just take the stupid pan out and then let the drippings drip to the bottom ... like ALL the food we cook on the grill does. Geez. Problem solved.
If I hadn't been in such a hurry to get dinner cooked, I probably also would have remembered to do the flavor injections before cooking. Injecting the bird, especially the breast meat, with garlic herb butter.... OH YEAH BABY.


